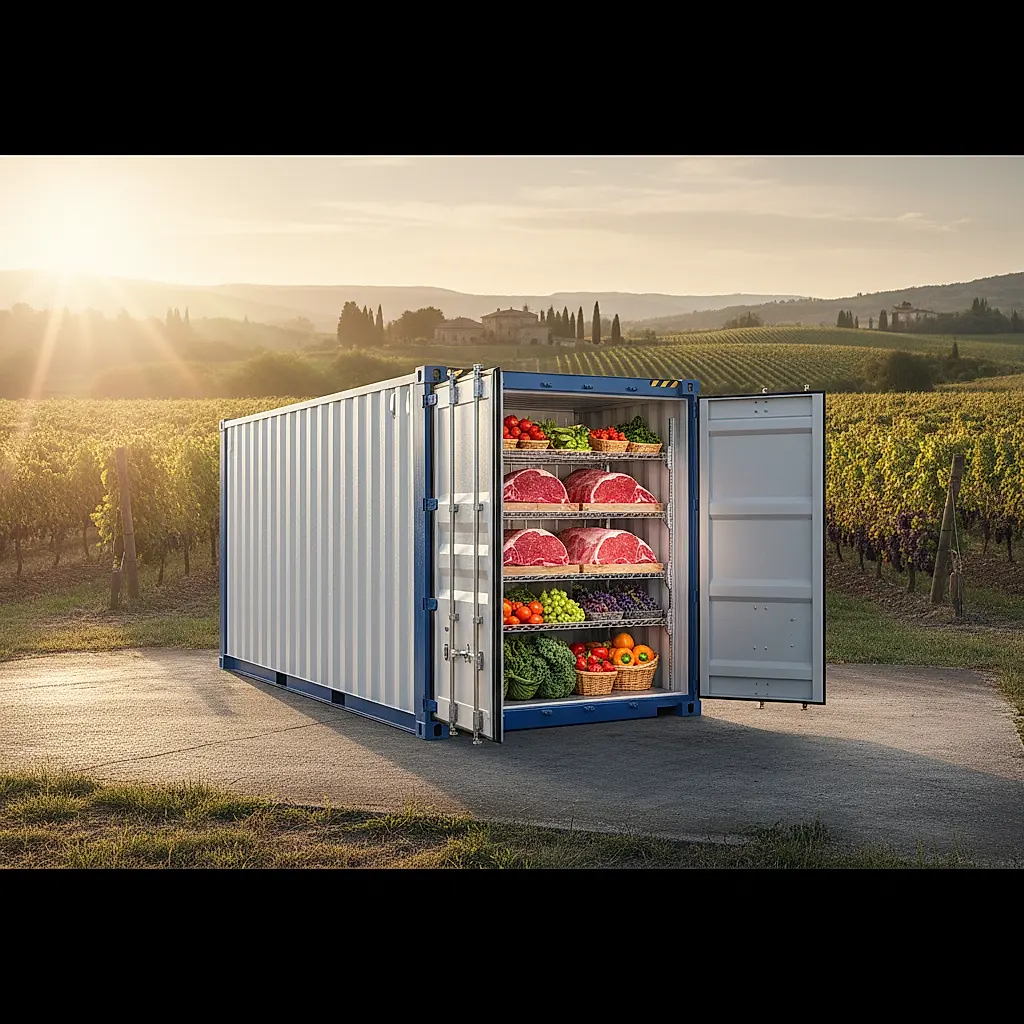
A practical guide to selecting and planning a shipping container walk-in cooler conversion, including insulation, refrigeration, doors, site access, and questions to confirm with the Newport team.
Converting a shipping container into a walk-in cooler is a serious project that blends refrigeration design, structural work, and site logistics. The container is only one part of the system. The decisions you make about size, condition, insulation, doors, and equipment access will shape how well the finished cooler performs and how much maintenance it needs over time.
This guide walks through the main choices in plain language. It does not replace advice from a refrigeration engineer, a structural professional, or your local building authority. Use it to ask better questions and to know what to confirm with the Newport team before you buy.
Start With the Job the Cooler Must Do
Before comparing containers, define the cooling job. A walk-in cooler for produce, meat, dairy, beverages, or floral storage has different temperature targets, humidity needs, and door traffic. Those requirements drive insulation thickness, refrigeration capacity, and interior finishes.
Write down a short project brief:
- What will be stored, and at what temperature range?
- How often will the door open, and for how long?
- Will the cooler hold product temporarily or operate continuously?
- Is humidity control important for the products involved?
- Will staff work inside, or is it storage only?
- What power is available at the site?
A refrigeration professional should size the cooling equipment after reviewing the container's dimensions, insulation, door type, and expected load. Do not assume a particular container size or equipment package will meet a temperature target without that review.
Choosing Between a Standard Container and a Refrigerated Container
Two broad paths exist: convert a standard dry container, or start with a refrigerated container that was built to hold temperature. Each has trade-offs.
Standard Dry Containers
A standard container is a steel box with corrugated walls, a wood or composite floor, and simple doors. It gives you a clean shell to insulate and finish. Because it was not designed as a refrigerated space, the conversion must address thermal bridging, vapor control, floor insulation, and door sealing.
Advantages often cited for this route include:
- A wide range of sizes and conditions to choose from.
- Flexibility in interior layout and panel thickness.
- Easier access for cutting openings for doors or equipment.
Points of caution:
- Steel conducts heat, so insulation must be continuous and well detailed.
- Floor insulation and a vapor barrier are critical to prevent condensation and rot.
- The original cargo doors are not designed to seal a cooler; a new insulated door is usually part of the plan.
Refrigerated Containers
A refrigerated container, sometimes called a reefer, was built with insulated walls, ceiling, and floor, plus an integrated refrigeration unit. It is designed to hold temperature and is often the faster starting point for a cooler conversion.
Advantages often cited for this route include:
- Factory-installed insulation and panel construction.
- An existing refrigeration unit and controls.
- Interior surfaces intended for temperature-controlled cargo.
Points of caution:
- The refrigeration unit may need service, parts, or replacement.
- The unit's power requirements and voltage must match your site.
- Interior dimensions are smaller than a dry container of similar external length because of insulation thickness.
- Older units may use refrigerants or controls that a technician should evaluate.
Neither path is automatically better. The right choice depends on your budget, timeline, power, and how much customization you want. Ask the Newport team what is currently available and what condition information is documented for each unit.
Insulation, R-Value, and Vapor Control
Insulation is the heart of a walk-in cooler conversion. The goal is to slow heat gain and keep the interior surface above the dew point so moisture does not condense inside the walls.
What R-Value Means
R-value measures resistance to heat flow. Higher R-values mean better insulating performance for a given thickness. Polyurethane foam and polyisocyanurate panels are common choices for cooler construction because they offer high R-value per inch compared with many other materials.
Exact R-values vary by product, thickness, age, and manufacturer. Do not rely on a general number from a guide. Ask for the panel or foam specification from the supplier and confirm it matches your refrigeration design.
Thickness and Layout
Insulation thickness affects both performance and interior space. Thicker panels reduce heat gain but shrink the usable interior. Your refrigeration professional can help balance the two.
Key details to plan:
- Continuous insulation at corners, edges, and penetrations.
- Thermal breaks to reduce heat transfer through steel framing.
- A sealed vapor barrier on the warm side of the insulation.
- Insulated floor or a properly detailed floor system.
- Sealed joints around doors, conduits, and refrigerant lines.
Condensation and Moisture
Moisture is the quiet enemy of cooler conversions. Warm, humid air that reaches a cold surface can condense, leading to wet insulation, rust, and mold. Vapor control and airtight construction matter as much as R-value.
If you are unsure how to detail vapor control in your climate, consult a building science professional or refrigeration engineer. Newport can discuss the container shell, but the thermal envelope design should be reviewed by a qualified specialist.
Doors, Access, and Interior Layout
A walk-in cooler lives or dies by its door. The original container doors are heavy, uninsulated, and not intended for frequent temperature-controlled access.
Door Options to Discuss
- Insulated hinged doors sized for pallet or cart traffic.
- Sliding doors where space in front of the cooler is tight.
- Strip curtains or air curtains for high-traffic openings.
- Emergency release hardware if people will work inside.
Door selection affects refrigeration load, so include it in the equipment sizing conversation.
Interior Layout
Think about how product moves in and out. Shelving, pallet positions, aisle widths, and lighting all take up space. A container that looks large from the outside can feel tight once insulation, equipment, and racks are installed.
Practical layout questions:
- Will you use pallets, carts, or hand-carry?
- Where will the evaporator and air circulation path go?
- How will you clean and sanitize surfaces?
- Where will lights, sensors, and alarms be mounted?
- Is there a need for a separate anteroom or staging area?
Site Access, Power, and Delivery Planning
A container cooler is a site project, not just a purchase. Delivery and installation require planning before the container arrives.
Access and Placement
Confirm the route to the final resting spot. Trucks need room to maneuver, and the container needs a level, stable base. Overhead lines, trees, gates, and soft ground can all complicate delivery.
Questions to answer early:
- What is the width and weight limit of the access route?
- Is the ground firm and level enough for the truck and the container?
- Are there overhead obstructions along the path?
- Will the container be placed on gravel, concrete, or another base?
- Is there room to open doors and service equipment?
Delivery equipment and site requirements vary by location and container. Confirm the specifics with the Newport delivery team rather than assuming a particular trailer or crane will be used.
Power and Utilities
Refrigeration equipment needs a reliable power supply. Voltage, phase, amperage, and circuit protection must match the equipment. If the site lacks adequate power, the project may need an electrician, a generator, or a different equipment selection.
Also plan for:
- Drainage or condensate removal.
- Lighting circuits inside and out.
- Controls, alarms, and temperature monitoring.
- Fire safety and code requirements for your occupancy.
Local codes, permits, and inspections vary widely. Contact your local building and fire authorities to confirm what applies to your project. Do not assume a container cooler is exempt from permitting because it is a container.
Condition, Inspection, and Documentation
Container condition matters more for a cooler than for simple storage. Rust, floor damage, and door wear can all affect the conversion.
Ask about:
- The container's CSC plate and inspection history, where applicable.
- Floor condition and any soft spots.
- Wall and roof corrosion.
- Door seals, hinges, and locking gear.
- Whether the unit is wind and watertight.
For refrigerated containers, also ask about the refrigeration unit's service history, controls, and refrigerant type. A technician should inspect the unit before you rely on it.
Newport can share listing details and available documentation for specific units. Confirm exact specifications, condition notes, and availability with the team before making plans.
Budgeting Beyond the Container
It is easy to focus on the container price and overlook the conversion costs. A realistic budget usually includes:
- Insulation panels and installation.
- Interior wall and ceiling finishes.
- Insulated doors and hardware.
- Refrigeration equipment and controls.
- Electrical work and power upgrades.
- Flooring or floor repair.
- Lighting, alarms, and monitoring.
- Permits, engineering, and inspections.
- Delivery, placement, and site preparation.
- Ongoing service and maintenance.
Get quotes for each part. A lower container price can be offset by higher conversion costs if the shell needs significant repair.
Frequently Asked Questions
Is a refrigerated container always better than a dry container for a walk-in cooler?
Not always. A refrigerated container starts with insulation and a cooling unit, which can save time. A dry container may offer more interior space and layout flexibility, but it requires a complete thermal envelope and a new refrigeration system. The better choice depends on your budget, power, timeline, and the condition of the specific unit.
How much insulation do I need for a container cooler?
There is no single answer. Insulation thickness and R-value depend on your temperature target, climate, door traffic, and refrigeration capacity. A refrigeration professional should specify the thermal envelope. Ask suppliers for product data and confirm the design before installation.
Can I use the original container doors on a walk-in cooler?
Original cargo doors are generally not suitable as the primary cooler door because they are heavy, uninsulated, and not designed for frequent temperature-controlled access. Most conversions add an insulated door or doors. The door type affects cooling load, so include it in equipment sizing.
Do I need a permit for a container walk-in cooler?
Permit requirements vary by location, use, and local code. Contact your local building, fire, and zoning authorities to confirm what applies. Do not assume a container project is exempt. Your refrigeration and electrical work may also require permits and inspections.
What should I confirm with Newport before buying?
Confirm the specific listing details, container condition, dimensions, availability, pricing, and delivery requirements. Ask what documentation is available, such as the CSC plate or inspection notes. For refrigerated units, ask about the refrigeration equipment and service history. The Newport team can help you understand what is available, but site access, power, and code compliance are project-specific and should be verified locally.
Next Steps
A successful walk-in cooler conversion starts with a clear project brief and a container that fits it. Browse current options at our shop, then reach out to the Newport team to confirm listing details, availability, pricing, and delivery requirements for the units you are considering. Bring your temperature target, site information, and power details to the conversation so the team can help you ask the right questions.
Before you commit, have a refrigeration professional and your local authorities review the plan. The container is the shell; the performance comes from the whole system working together.
Plan the next step
Confirm the container and the delivery plan.
Browse current listings, then speak with the Newport team to verify the unit, total pricing, site access, and delivery requirements before payment.